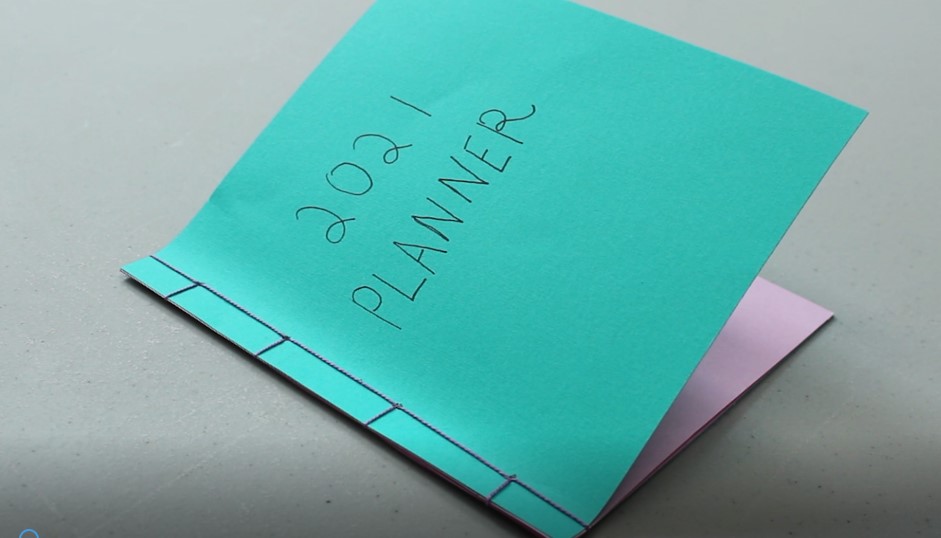
Get planning for the new year! Create a DIY planner while learning some basic bookbinding techniques. Fill your planner with to do lists, calendar, notes, or whatever you like!
You will need:
- 2 pieces of heavier paper or cardstock for the covers*
- 4-5 pages of regular paper**
- Ruler
- Scissors
- Thread
- Needle
- Optional: tape, paperclips
*The paper used in this video is 6″x6.5″, but you can use any size.
**The book in this video only has 5 inner pages. You can add as many pages as you like.
Instructions
If needed please refer to diagram below.
- Place your inner pages inside the 2 covers.
- Mark out 4 evenly spaced holes. With a needle, punch holes at each mark. Make sure to punch through all the pages. Tip: secure the papers with a few paperclips so that the pages don’t move around while you are making the holes.
- Open your book to the middle page. With about an arm’s length of thread, thread your needle through hole 3 of the pages on the left. Leave a 3-4 inch tail hanging inside your book.
Optional: Secure the thread with tape to prevent the thread from slipping. - Close the book and thread your needle through hole 3 of all the pages, starting at the back of the book and finishing at the front. This will create a stitch on the left side of the book.
- Flip the book to the front and thread your needle through hole 2. To create the stitch on the left side of the book thread your needle through hole 2 again.
- Flip the book to the back and thread the needle through hole 1. To create the stitch on the left side of the book, thread your needle through hole 1 again.
- Once the stitch at hole 1 along the spine is completed, thread your needle through hole 1 again but make sure the stitch goes over the top of the book.
- Now we will fill in the gaps along the spine. Weave the needle through hole 2 on the front of the book, then hole 3 on the back of the book, and finally through hole 4 on the front of the book.
- To create the stitch on the left side of the book, thread your needle through hole 4. Thread your needle again through hole 4, making sure the stitch goes over the bottom of the book.
- Flip the book to the back and thread the needle halfway through hole 3.Your needle will exit through the middle of the book on the page you first left the tail.
- Remove the tape and tie the two ends together to finish the binding. Cut off any excess thread.
- Fill your new book with to do lists, calendars, notes, or whatever you like!


